Polymaker PolyCast Polymaker
$ 49,99 $ 29,99
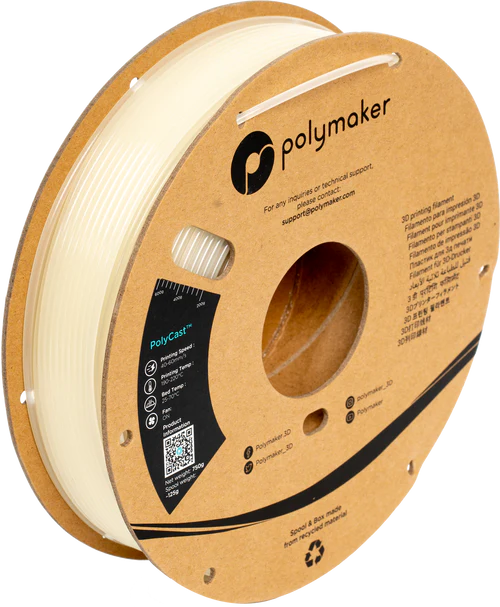
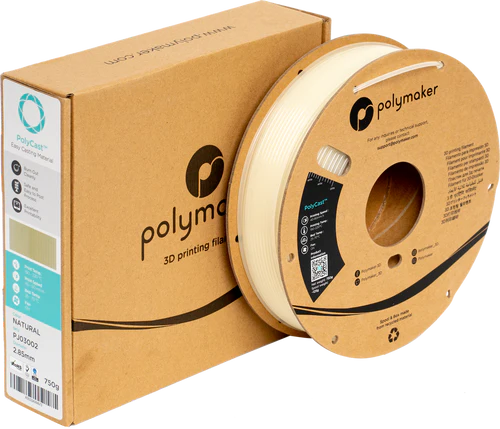
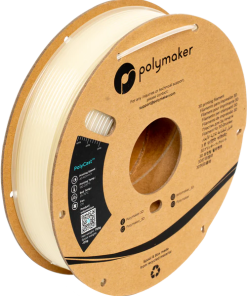
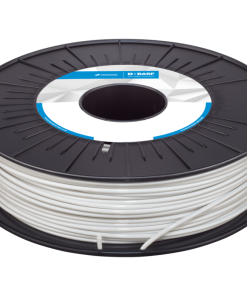
Polymaker PolyCast™ Filament – .75kg – 1.75mm
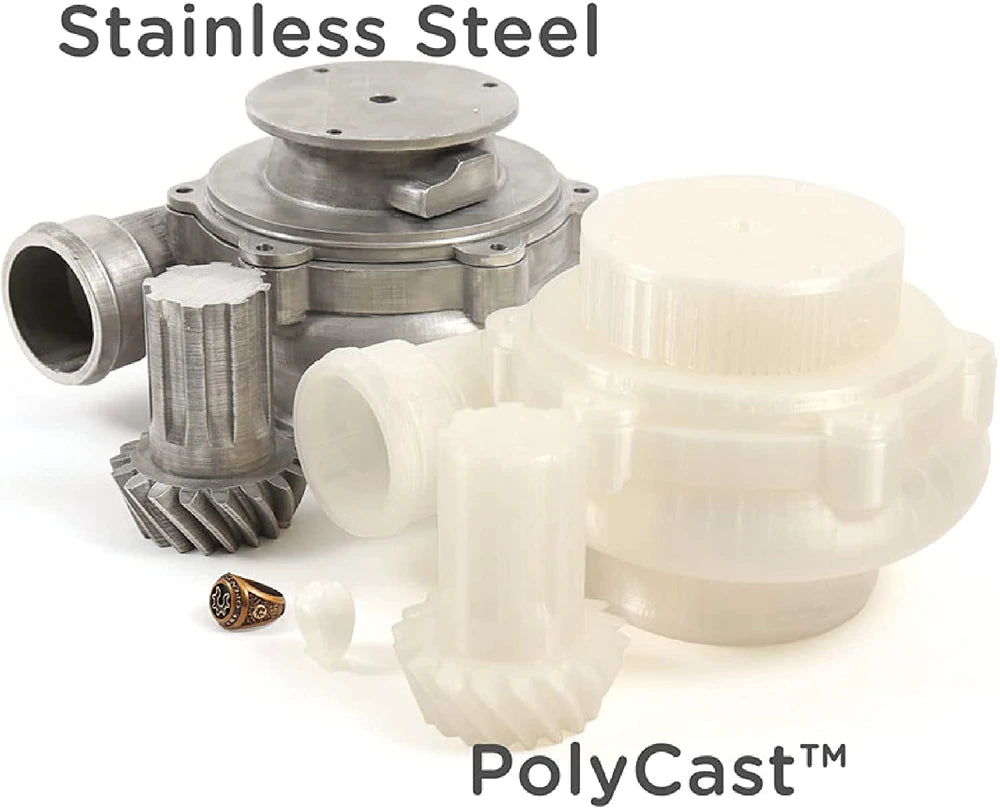
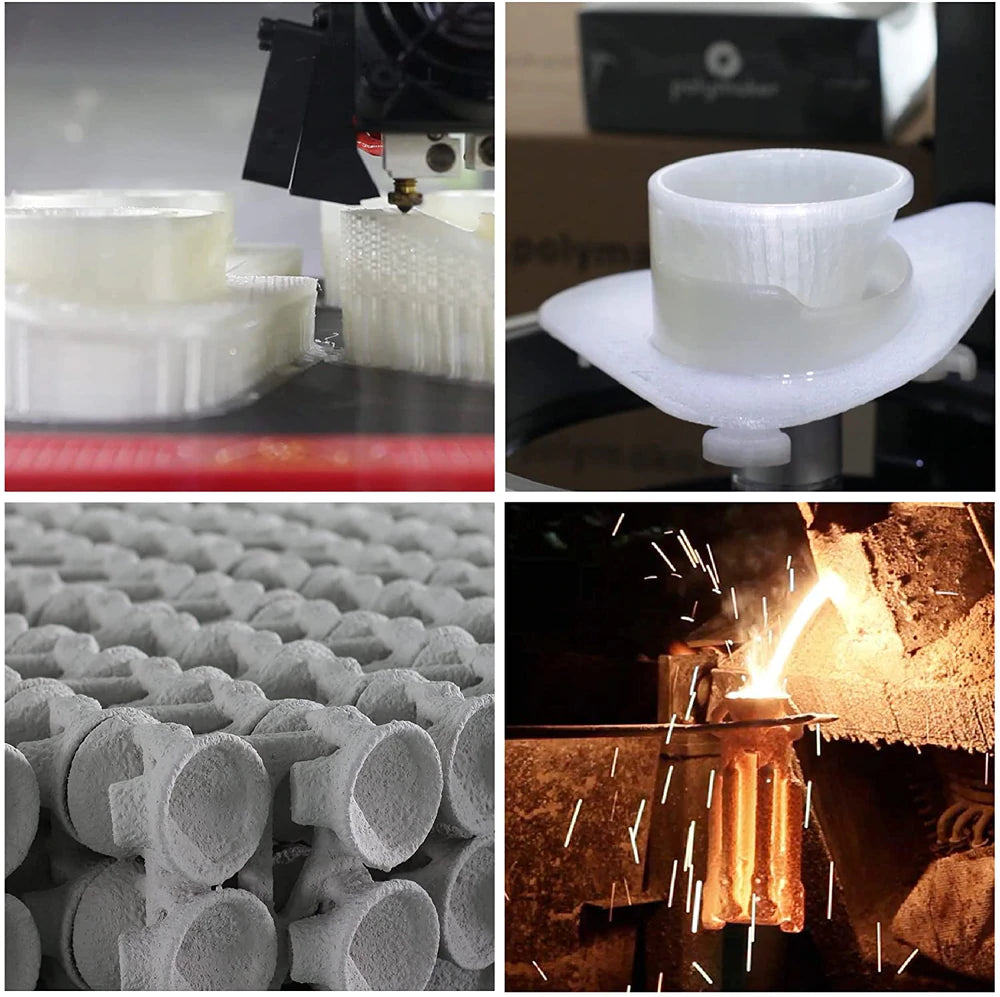
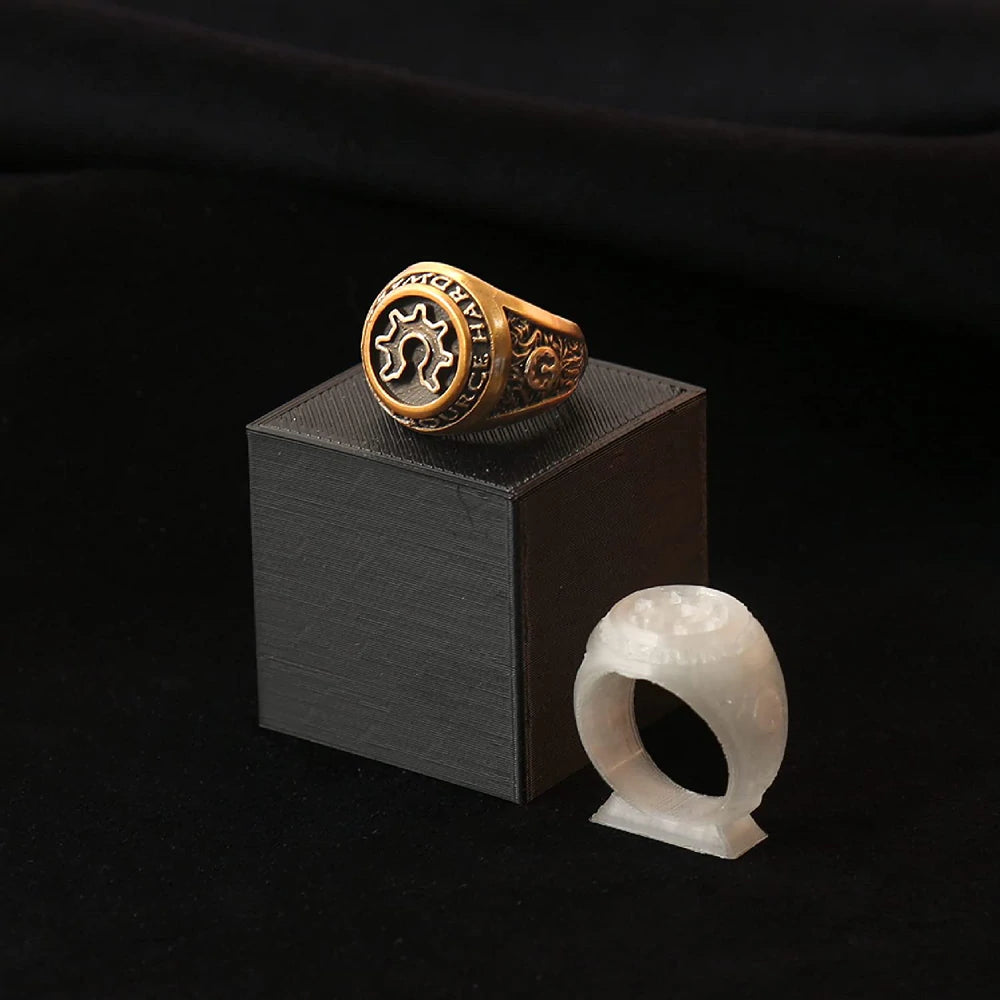
PolyCast™ is a filament designed to produce investment patterns for investment casting applications. 3D printing significantly cuts down both the cost and lead time by eliminating the tooling process.
In most cases PolyCast™ patterns can be used in a similar way as traditional wax patterns. However, in order to achieve high success rates and consistent results, we still recommend that you start with the following “best practice” guide.
1. Build casting tree
The casting tree can be built using the same method as wax patterns. PolyCast™ patterns adhere well to the wax. Additional vents/gates may be added to promote air flow during the burnout process. Another effective way to promote air flow is to drill through the outer shell of the pattern at the gate location.
2. Make ceramic shell
Build up the ceramic shell around the casting tree by using the standard process of the foundry. Use silica sol/gel, colloidal silica, etc. as slurry systems for PolyCast™ (avoid using sodium silicate). The number of coatings can be between 4-9 and varies by foundries and by parts. We recommend 5-6 coats for PolyCast™. If the patterns contain some fine structures, we recommend 7-9 coats.
3. De-waxing
Use high temperature steam to remove the wax tree. The PolyCast™ will still remain in the ceramic shell. You can choose to skip the de-waxing step entirely if recycling the wax is not a priority; in this case the wax will simply be burned off in the kiln together with Polycast™.
4. Sinter ceramic shell and burnout
Heat the kiln to 1100-1200 °C for an extended period of time (up to 40-60 min) to simultaneously sinter the ceramic shell and burn out the PolyCast™ patterns. The optimum burnout temperature and time may be determined by each foundry for the metal/part to be produced and the specific kiln or furnace used.
5. Rinse shell
After cooling down to ambient temperature, rinse the ceramic shell with water to remove any residual ash that may still be present. We recommend the rinse step just as a “safe” option for foundries to get started. Once the foundry is more experienced with the process they can skip the shell rinsing step upon their choice. In our experience foundries can get excellent results without this step.
6. Cast
Once the ceramic shell is fully prepared and clean, complete the casting process by following the standard practice for the designated metal/alloy. Steps may include pre-heating the shell, pouring the molten metal/alloy to the shell, allowing the shell to cool, removing the shell, cutting off gates, machining, heat treatment, etc.
Printing and Drying Settings?
- Printing Temperature: 190˚C – 220˚C
- Bed Temperature: 25˚C – 70˚C
- Printing Speed: 40mm/s – 60mm/s
- Fan: ON
Direct Drive:
- Retraction Distance: 1mm
- Retraction Speed: 20mm/s
Indirect Drive:
- Retraction Distance: 3mm
- Retraction Speed: 40mm/s
Drying Settings:
(Only if the material has absorbed moisture)
- 50˚C for 12h
Product Reviews
What makes PolyCast™ unique?
PolyCast™ features two unique technologies:
Layer-Free™: PolyCast™ can be easily smoothed with IPA for a smoother surface finish which is reflected on the casted model.
Ash-Free™: PolyCast™ burns out very cleanly with minimum ash residues.
More Information about Polymaker PolyCast
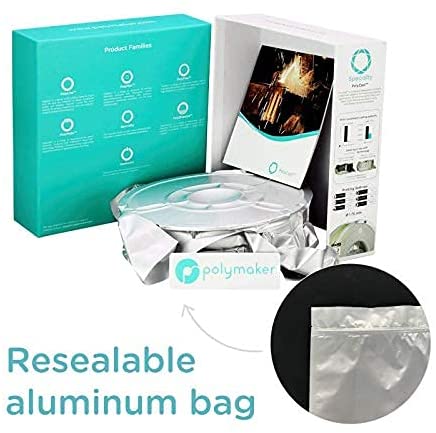
Professional packing and fast shipping
Due to our longstanding partnership with UPS FedEx DHL and other major global carriers, we are able provide a range of shipping options. Our warehouse staff is highly trained to package your goods exactly as per the specifications we offer. Before shipping the goods are carefully inspected and secured. Everyday we deliver thousands of packages to customers from all over the world. This is a testament to our commitment to be the largest online retailer worldwide. The warehouses and centers for distribution are situated in Europe and the USA.
Orders with more than one item are given processing time for each item.
Before shipping, we will conduct a thorough inspection of the items you've ordered. Currently, most orders are shipped within 48-hours. Expected delivery time is between 3 and 7 days.
Returns
The stock is dynamic and we do not fully manage it because of the fact that multiple stakeholders are involved, including our factory and warehouse. The actual levels of stock can change at any moment. It's possible that the stock may run out after your order has been placed.
The policy is 30 days. If you haven't received the product within 30 days, we are not able to issue a refund or an exchange.
For your item to be returned, it must be unopened and in the same state as you received it in. It must also be in the original packaging.
Related products
3D Printer
3D Printer
3D Printer
3D Printer
3D Printer
3D Printer
3D Printer
